Water Heater Installation Invoice Template
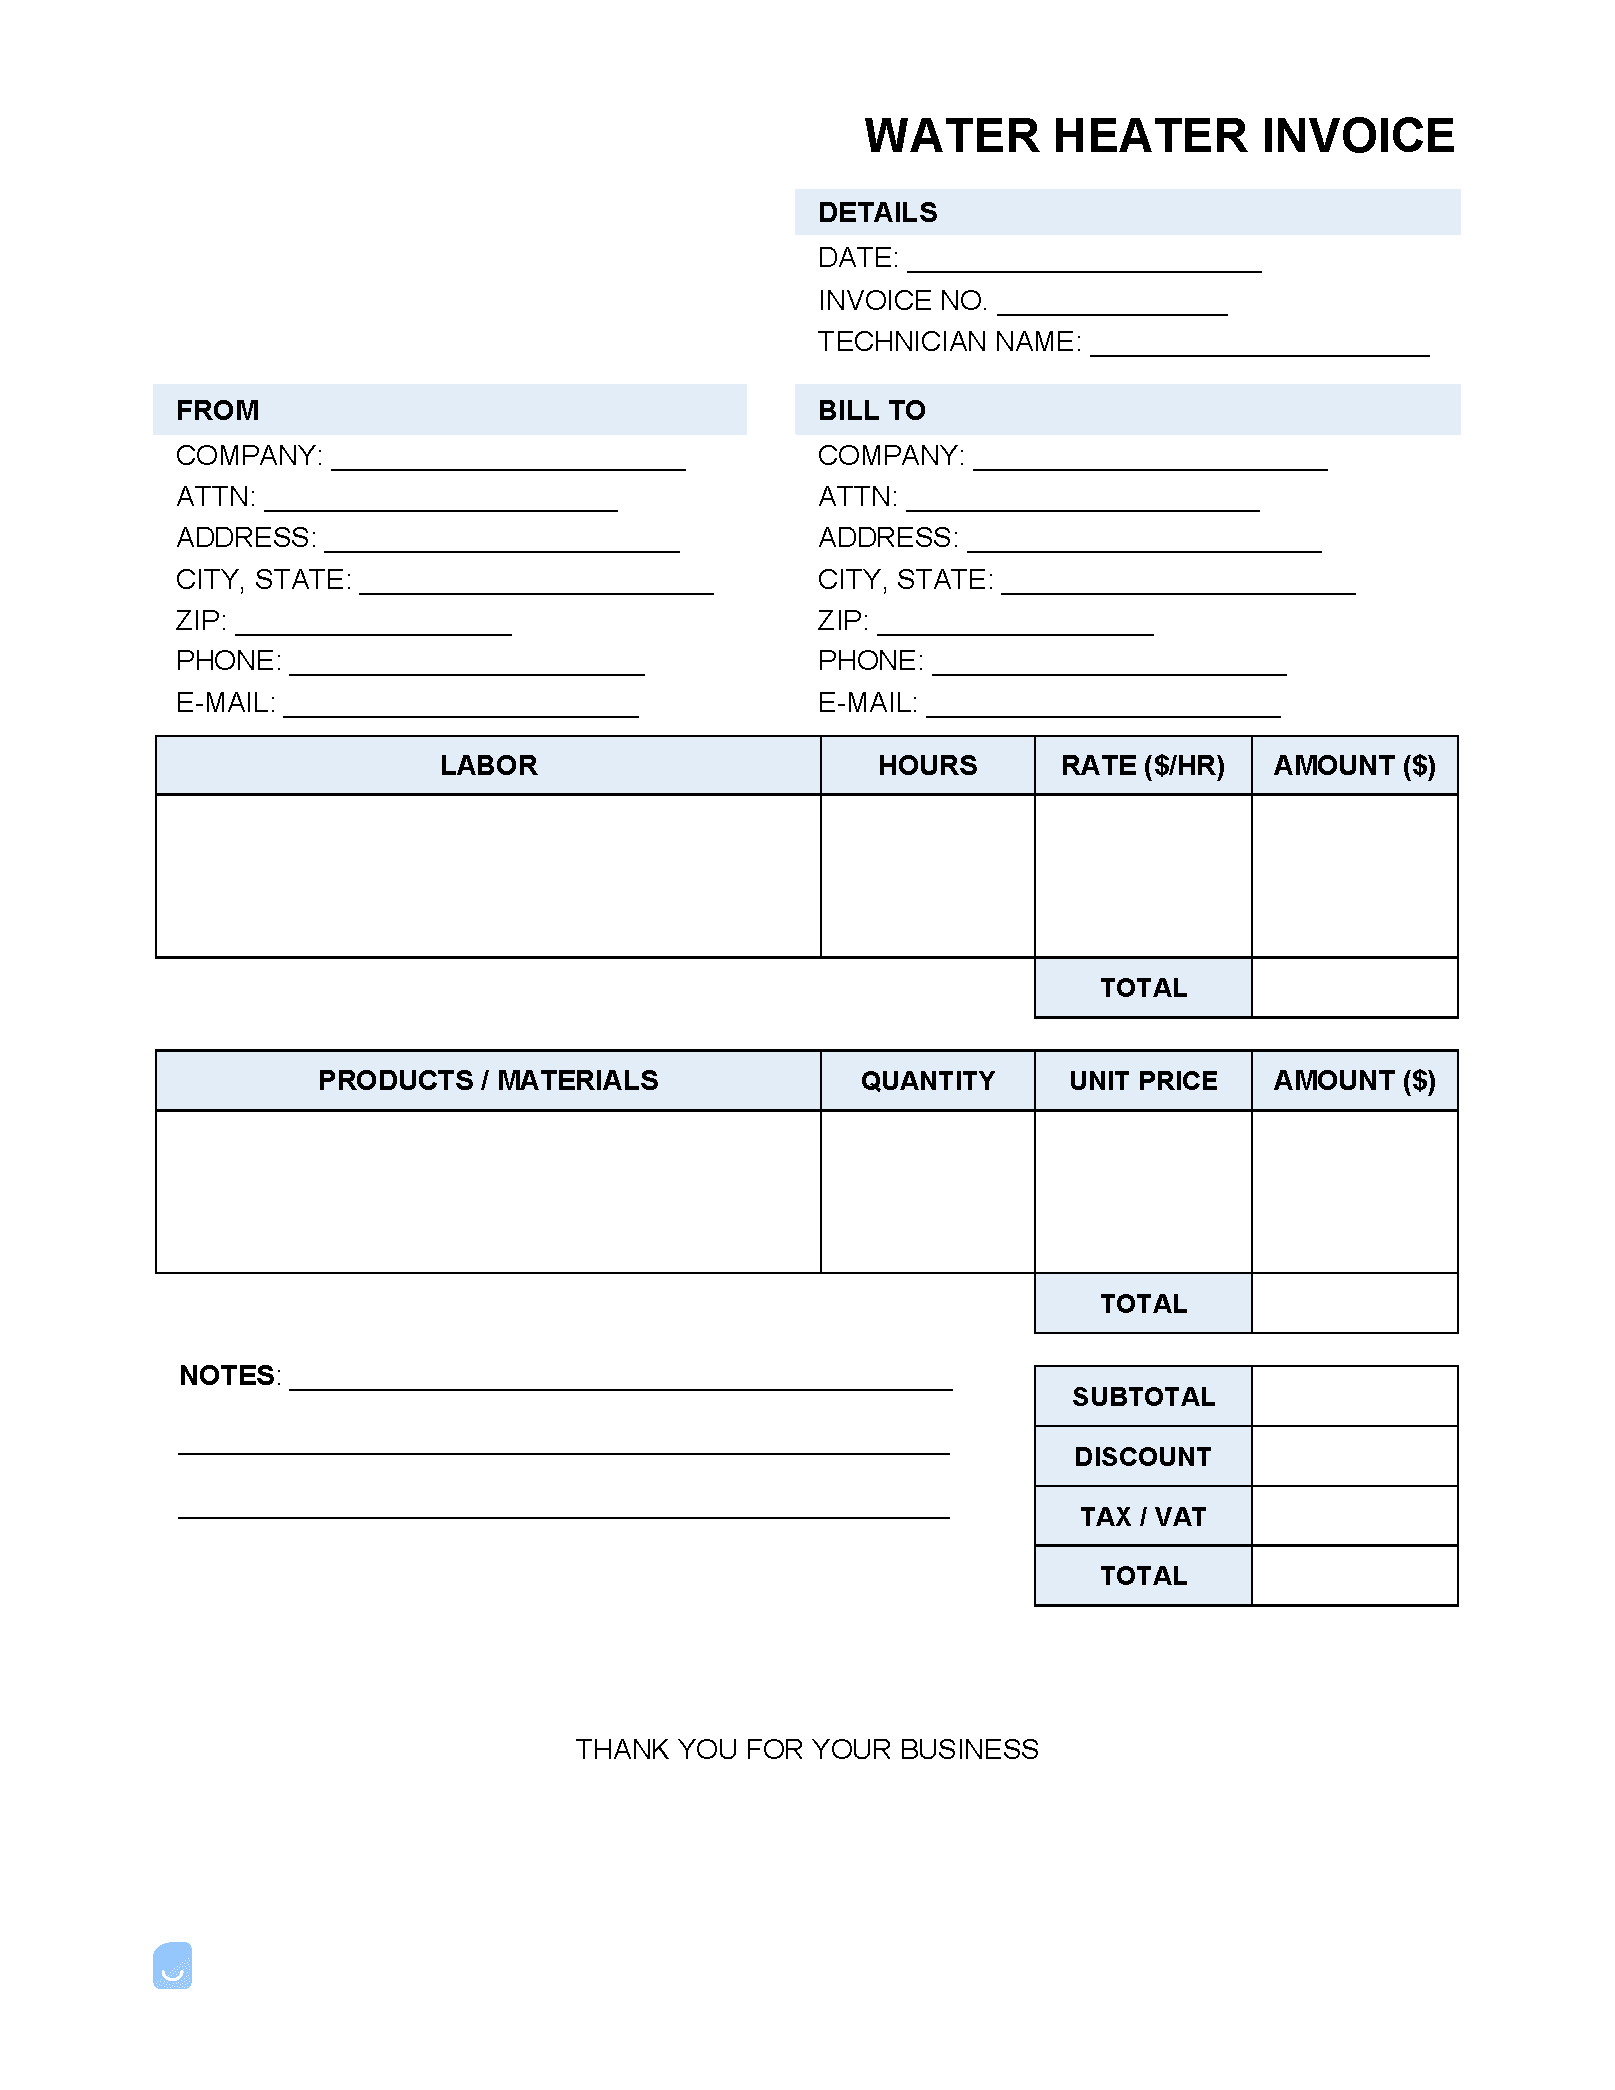
A water heater installation invoice is a document issued to customers upon the successful installing of a residential or commercial water heater. The form can be used for collecting payment for work performed on an hourly basis ($/hr) or for a one (1) time fee.
What is a Water Heater?
A hot water heater is an appliance that uses electricity and/or combustion to warm water for use in cleaning, cooking, showering, and more. They are found in both commercial buildings and homes/apartments. There are many different designs of heaters, with the tankless heater becoming a more popular option in modern times. Regardless of the system used, they all accomplish the same task – heating water to between 120 and 180 degrees Fahrenheit.
Water Heater Installation Process
Step 1 – Remove the old heater Start by draining the old hot water heater’s tank. This can be done by attaching a garden hose to the tank’s drain valve. Then, disconnect all gas and water lines going into the tank. Finally, remove the tank’s exhaust flue. The tank can now be lifted out of place. Step 2 – Place the new heater The new heater can be placed in the same location as the old heater so long there is at least six (6) inches of room on all sides of the heater. Once placed, it’s important that the heater is leveled; a leveling tool can be used to ensure this. If adjustments need to be made, plastic shims can be used as necessary. Step 3 – Reconnect all lines The technician will need to attach all water, gas, and exhaust fittings to the new heater. For the gas line it’s important that the connection made is tight; use a wire brush to clean the threads, and use compound to make a proper seal. Once attached, the gas can be turned on. Step 4 – Check for leaks + turn everything on Once the propane is on, it’s important that the technician ensures there are no leaks in the unit. This can be done by using soap and water. If there is a leak, bubbles will form around it. If there are no leaks, the pilot light can be lit and the control knob can be turned on. Congrats! The water heater is now installed.
